Recruitment[ | ]
Officers are recruited from the officers screen, accessible via the Control Panel. On the left of the screen is the officer list. The Active Tab displays all officers that have already been recruited; the Recruit Tab displays the list of hopeful recruits that you can choose from.
In either tab, selecting an officer will display their action
buttons:
- Recruit adds the officer to your Active Tab list,
- Assign places an officer in one of your fleets,
- Promote increases the abilities of an officer,
- Unassign removes an officer from a fleet, and
- Dismiss permanently removes the officer from the game.
When an officer is assigned to a fleet, their face will appear next to that fleet’s name in the Strategy Index. The officer will always serve on the flagship of their fleet. Note that if the flagship is destroyed in battle, the officer will be killed! When an officer is selected, their information panel on the right gives a detailed outline of their capabilities. The Experience panel shows how much XP they currently have, and how much
is required for their next promotion. The Command panel shows the total Fleet Points of units are currently assigned to their fleet, and their maximum.
Outer Planets[edit]
![]()
A diagram of the layout of the Cyrranus system, with jump lanes in red and colonies in blue.
Ragnar is a gas giant. Stationing Daidalos here will not provide any innate advantages, but the Cylons will never go here. It is your safe harbour; if you don’t need a colony bonus, keep Daidalos here. It is accessible by the star lane planet Naucratis, or directly from Helios Gamma.
Other outer planets provide links to the other stars. Naucratis, Helicon, Delium, and Cocalus connect the four stars together in a circle. Gortyn connects Helios Gamma, Helios Delta, and another outer planet Knossos — which in turn is connected to Helios Alpha and Helios Beta.
These outer planets all have high environmental hazards, so be cautious when engaging the Cylons in these regions. While Ragnar is listed as having a high environmental hazard, the Cylons will never go there.
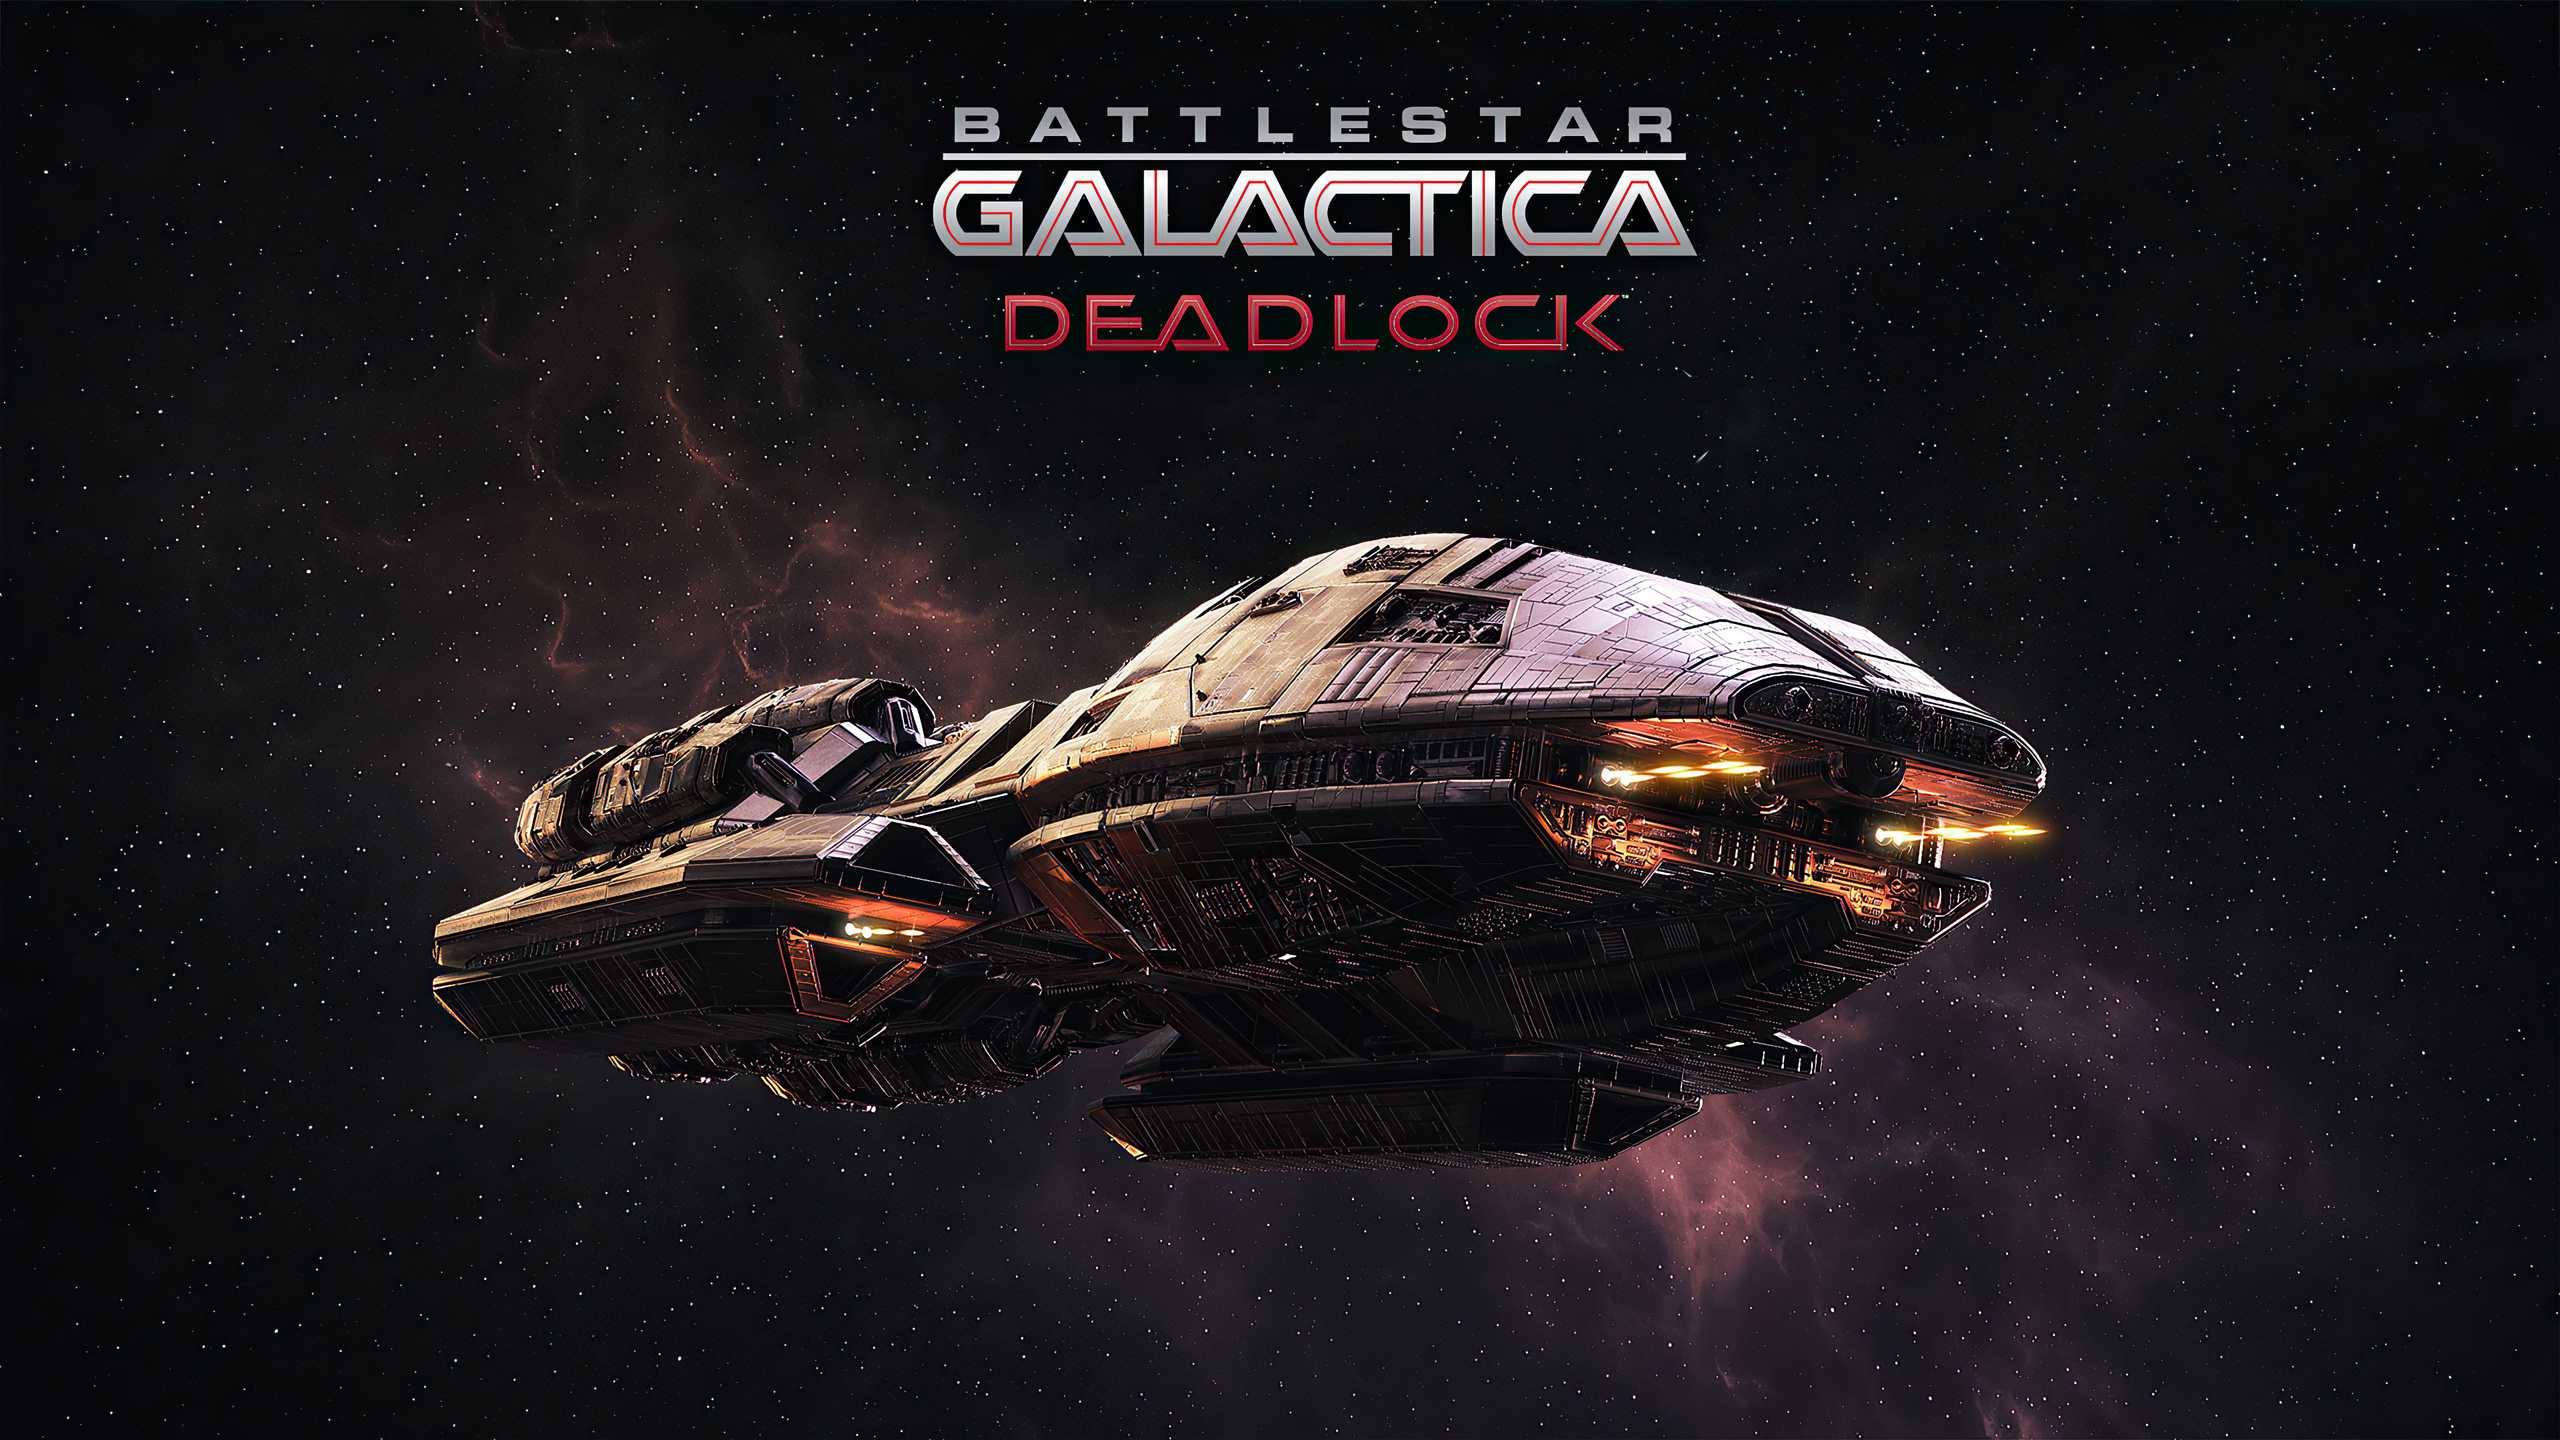
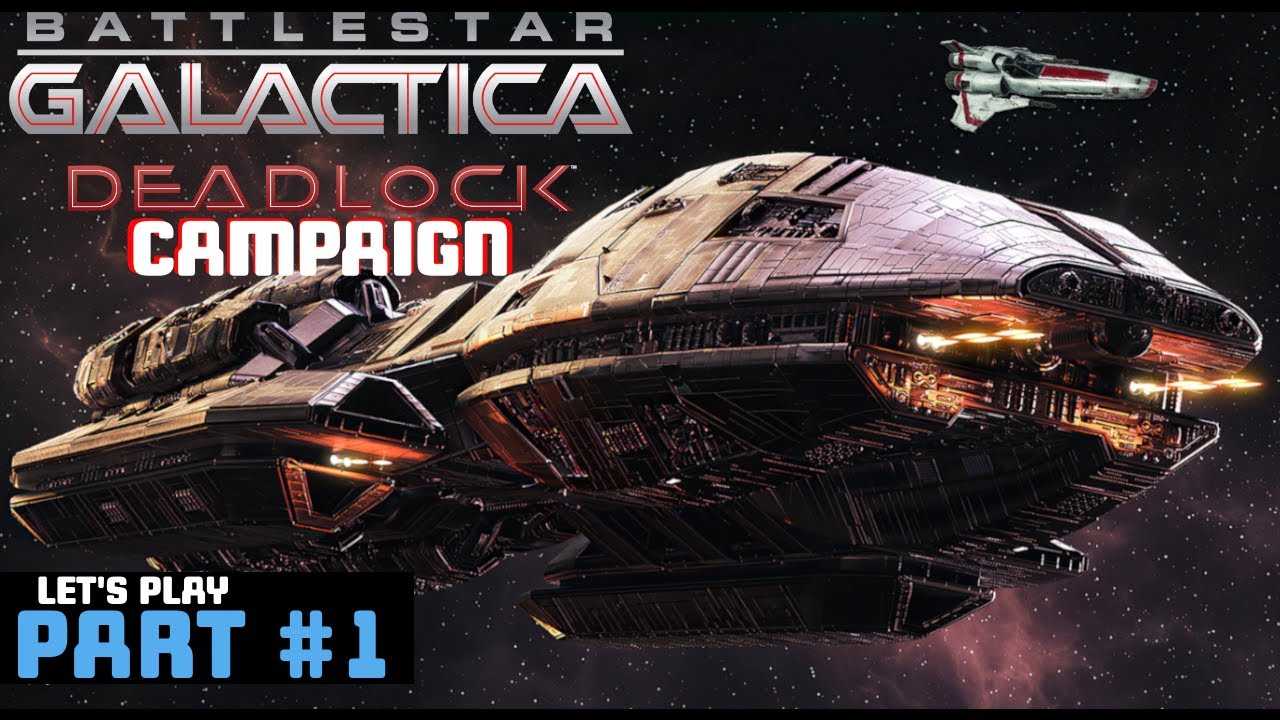
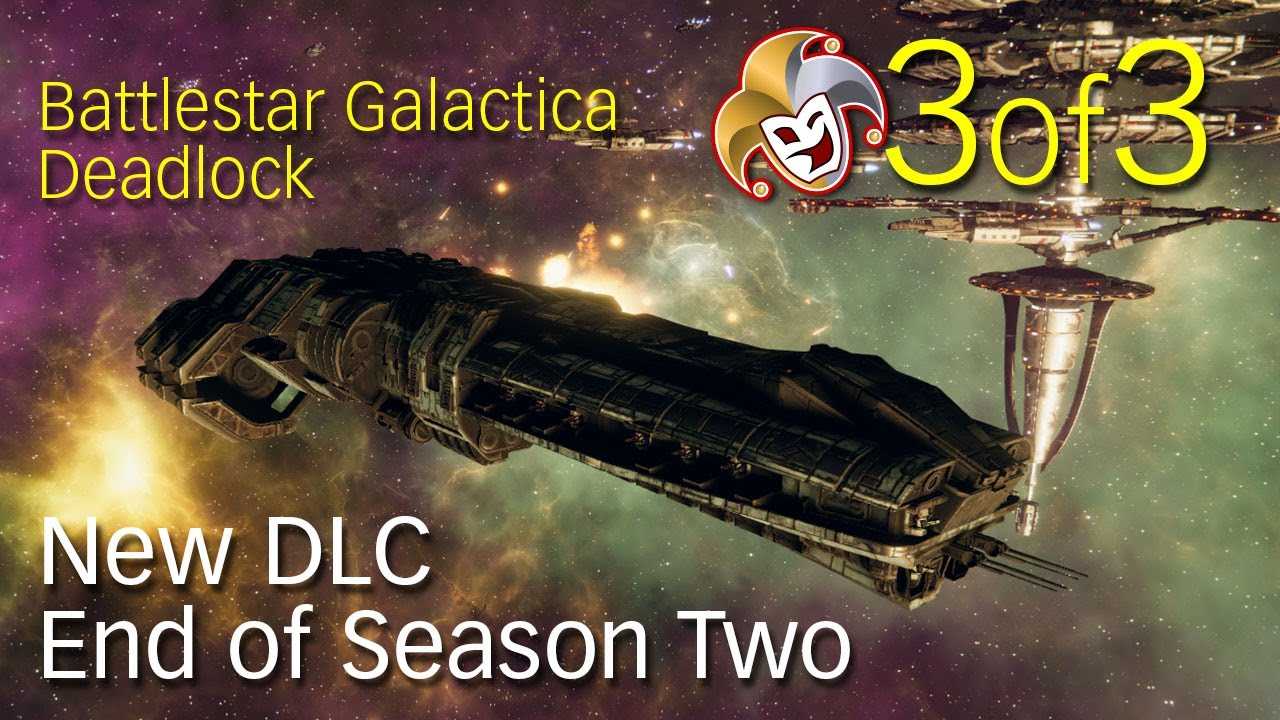
Battlestar Galactica Deadlock: Resurrection DLC (PC)
Внимание! Для запуска дополнения требуется игра Battlestar Galactica Deadlock. Новая сюжетная кампания
Новая сюжетная кампания
Второй сезон игры Battlestar Galactica Deadlock начинается с новой сюжетной кампании. Игрокам предстоит сражаться с сайлонами, объединившись с экипажем БИЦ крейсера «Галактика». Их ждет десять сюжетных заданий и тринадцать заданий по добыче ресурсов.
Новый командный пункт
Игроки смогут управлять ГЗК-75 из тщательно воссозданного БИЦ крейсера «Галактика». Стратегическая система переработана таким образом, чтобы фанаты игры могли сразу же перейти к важнейшим битвам, а новая механика под названием «Сайлонская угроза» поможет оценить воздействие на Первую сайлонскую войну.
Новые корабли
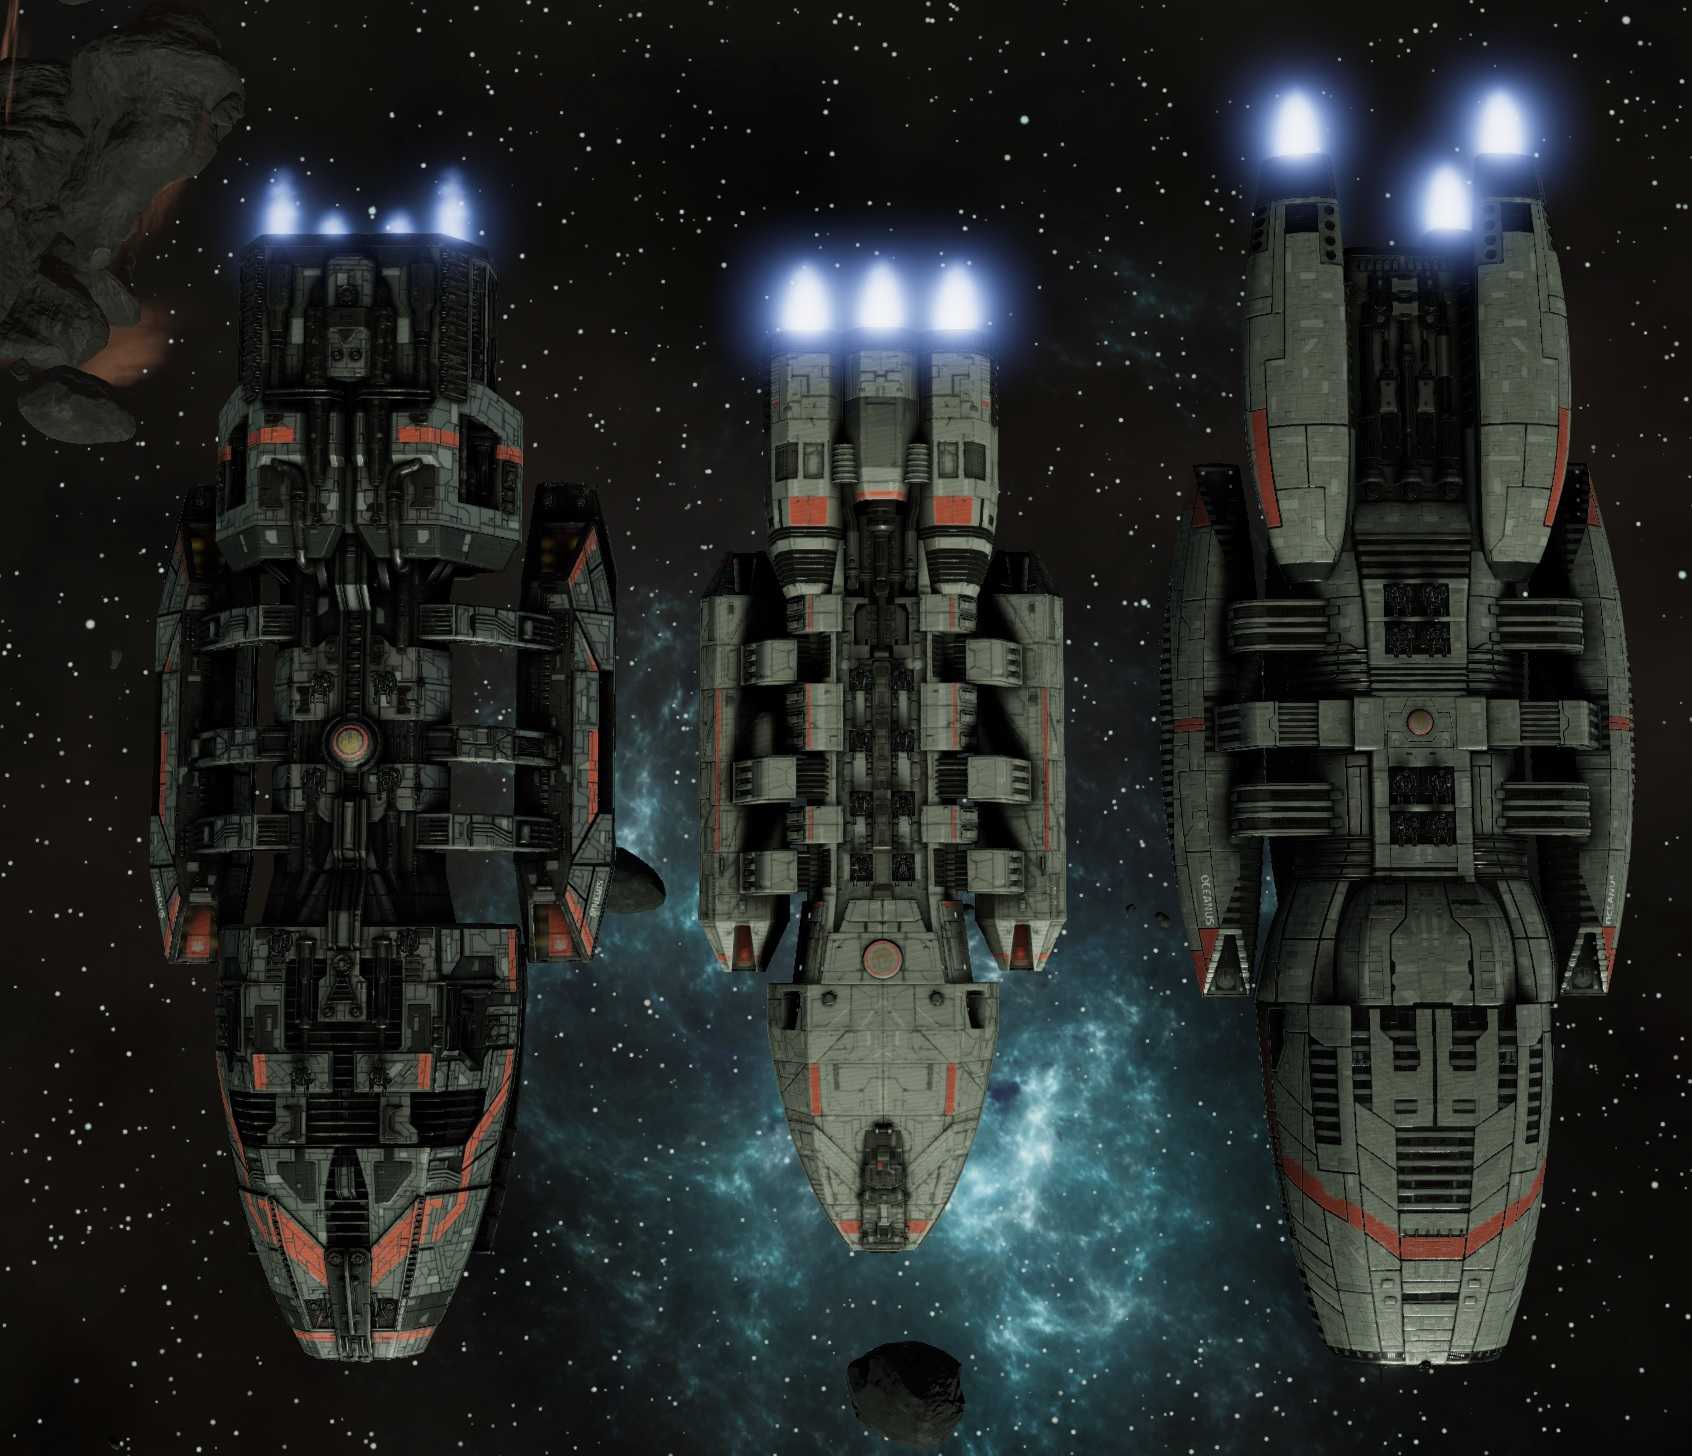
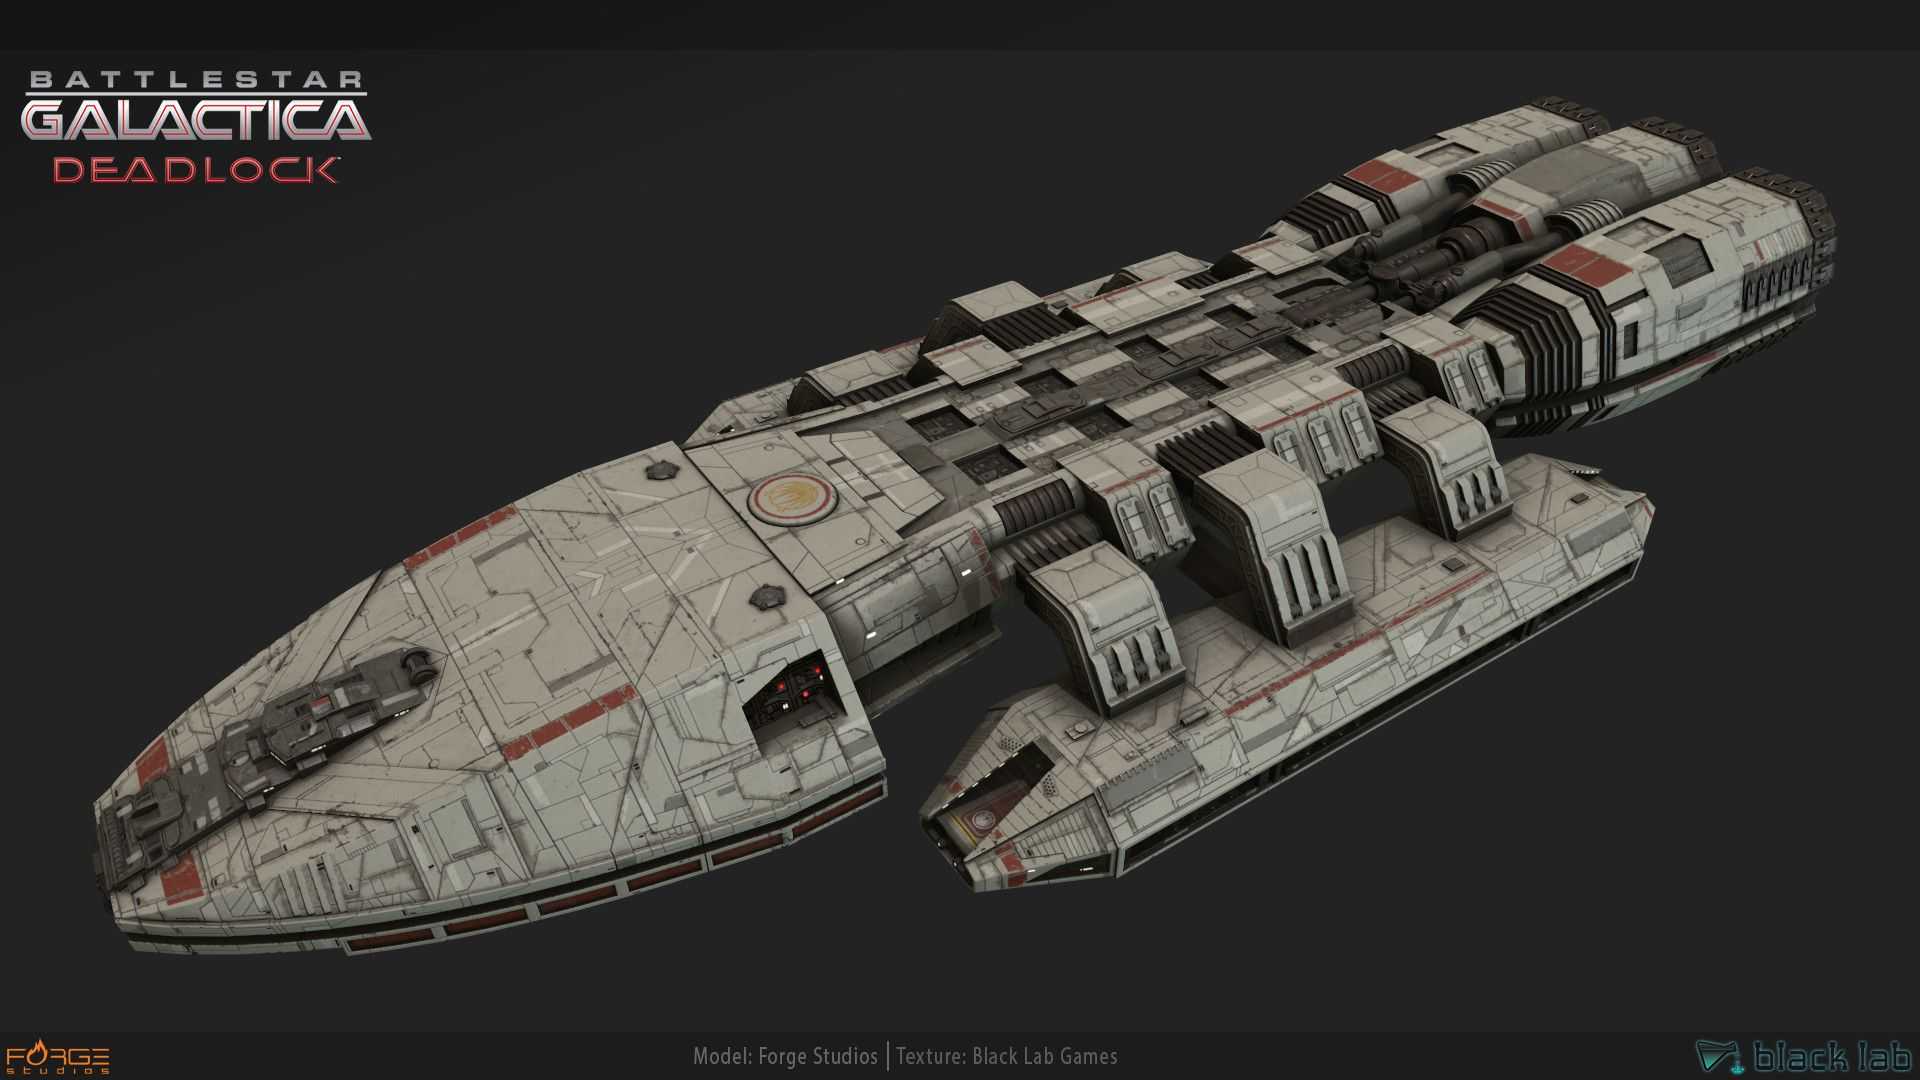
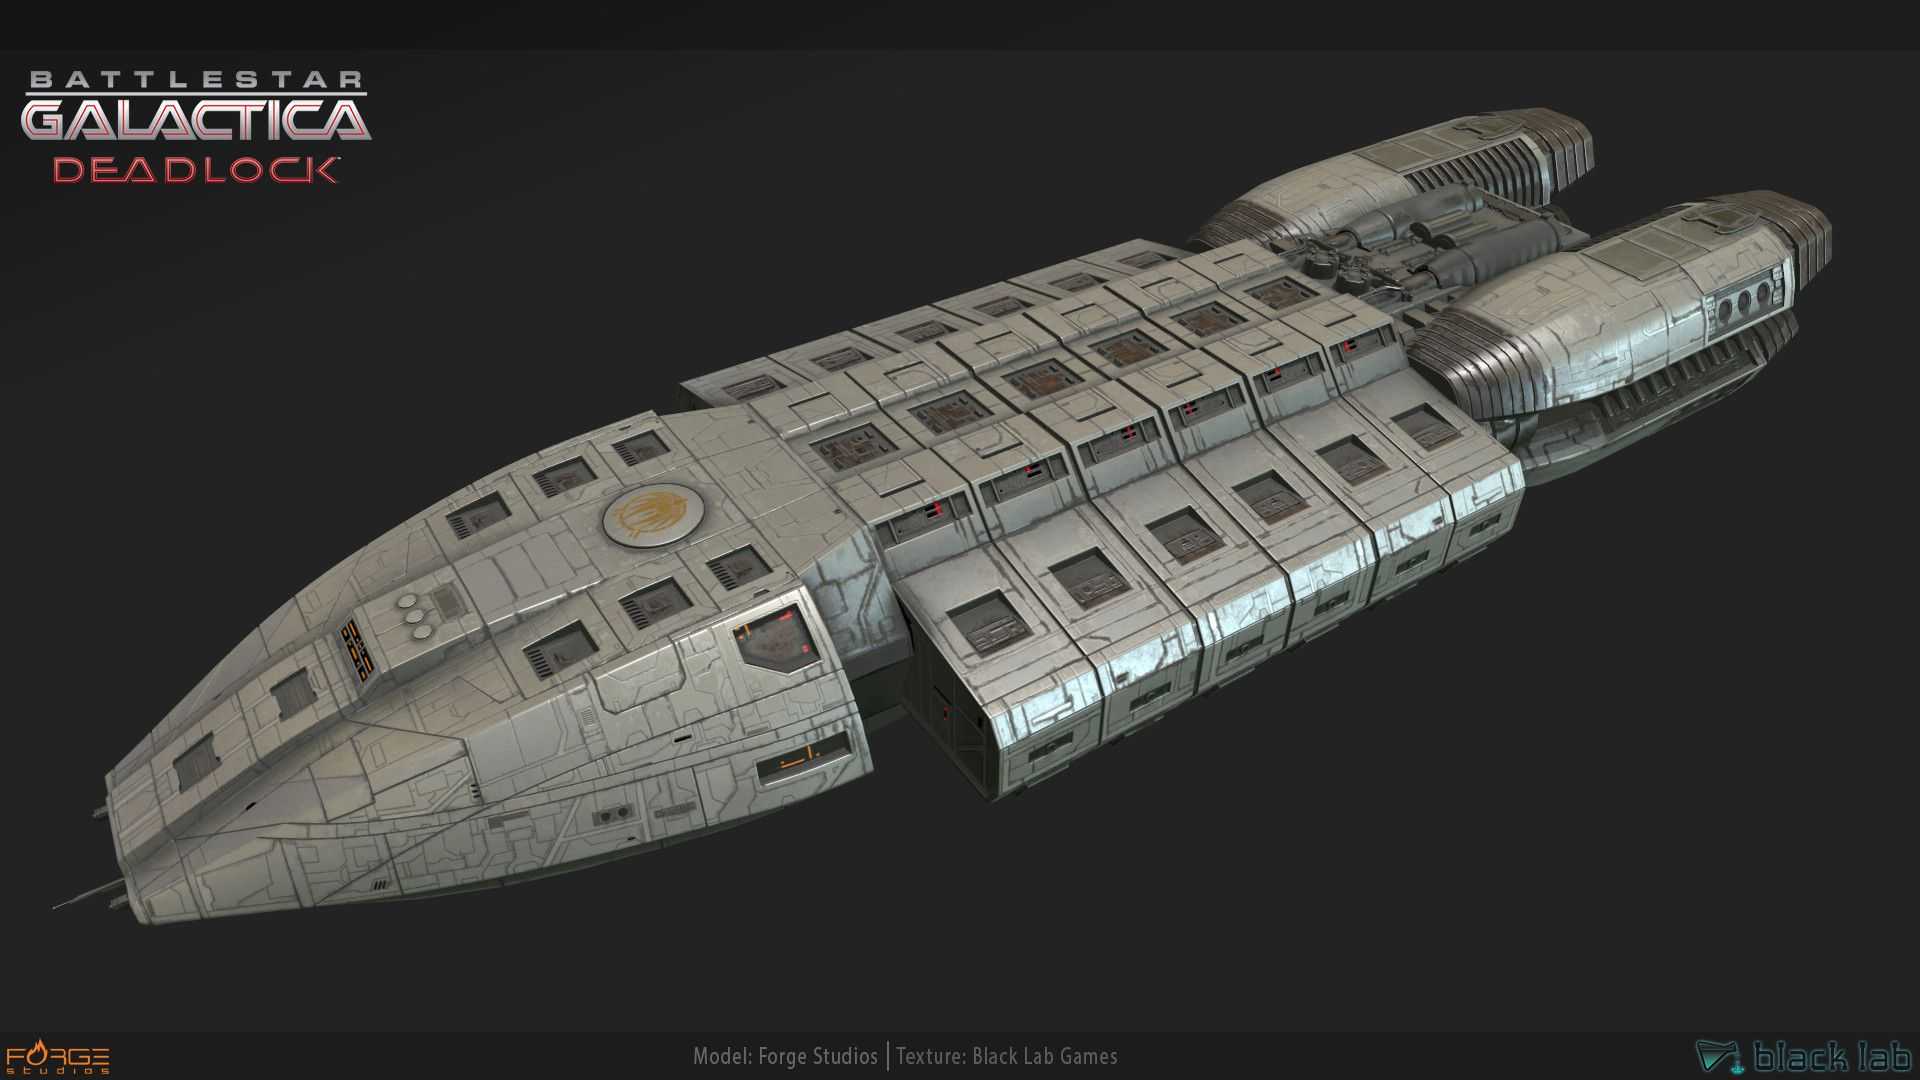
Переработанные корабли класса «Юпитер». «Юпитер МК II» отличается такой огневой мощью и прочной броней, что по праву может считаться самым мощным судном из участвующих в войне. Кроме этого, его очертания знакомы каждому фанату серии.
Новые эскадрильи
Колониальный флот воспроизвел дизайн древних истребителей, участвовавших в исходе с Кобола. Эти тяжелые истребители для борьбы с кораблями первого ранга с виду напоминают «Тайпан». А сайлоны тем временем разработали серию бомбардировщиков под названием «Оса».
Battlestar Galactica Deadlock and 2017 Universal Cable Productions LLC. Software 2017 Slitherine Ltd. Battlestar Galactica is a copyright of Universal Cable Productions LLC. Licensed by Universal Studios 2017. All Rights Reserved. Published by Slitherine Ltd. Developed by Black Lab Games and Slitherine Ltd. All rights reserved to their respective owners.
Минимальные параметры для PC:
Операционная система: Windows 8 / Windows 7 / Windows Vista / Windows 10
Процессор: 2 GHz
Оперативная память: 4GB
Видеокарта: NVIDIA Geforce 460 (1GB) / ATI Radeon HD 5770 or better
DirectX(R): 11
Звуковая карта: совместимая c DirectX
Жесткий диск: 8739 MB
Лицензионный ключ Battlestar Galactica Deadlock: Resurrection DLC (PC) активируется в Steam.
Как активировать ключ и начать играть в Battlestar Galactica Deadlock: Resurrection DLC (PC):
- Если у вас не установлен Steam клиент, скачайте и установите его .
- Войдите в свой аккаунт Steam или зарегистрируйте новый, если у вас его еще нет.
- Чтобы активировать ключ, выберите пункт «Активировать через Steam. » в разделе «Игры» или «Добавить игру» в левом нижнем углу приложения и выберите там «Активировать через Steam. ».
- Введите ключ активации (чтобы его получить, необходимо купить Battlestar Galactica Deadlock: Resurrection DLC (PC)).
- После этого игра отобразится в разделе «Библиотека», и вы сможете скачать Battlestar Galactica Deadlock: Resurrection DLC (PC).
Покупка появится в вашем личном кабинете сразу после оплаты.
В случае оформления предзаказа, ключи к покупке будут выданы в день релиза.
Оплата онлайн на сайте:банковские карты
- VISA
- MasterCard
- МИР
электронные деньги
- Яндекс.Деньги
- QIWI
- Webmoney
мобильные деньги
МТС
Более подробно ознакомиться с условиями и доступными способами доставки можно в разделе “Оплата и Доставка”.
Офицер HNG
Бесспорно, без вопросов, самый бесполезный офицер. Он сияет ярче всего, когда ваши столицы захвачены сайлонами, что требует, чтобы вы сначала проиграли битву истребителей. Хуже того, абордажные группы легко отбиваются за несколько минут оборонительной позиции, независимо от командира.
Я буду первым, кто признает, что были времена, когда я хотел, чтобы у меня был офицер ARM для отражения абордажников, но я также буду первым, кто признает, что офицер CIC может отталкивать абордажников так же легко, как и Офицер HNG или NAV мог в первую очередь предотвратить прибытие абордажников, в то время как офицер ENG мог быстро устранить повреждения. Даже скромный офицер TEC мог бы переломить ситуацию, имея своевременную информацию, задолго до того, как границы станут актуальными.
Их ключевое умение — худшее из всех. Агрессия сайлонов означает, что ни одна битва не может затянуться на достаточно долгое время, чтобы у колониального флота закончились боеприпасы. Даже если боеприпасы станут проблемой, у одной «Селестры» более чем достаточно запасных боеприпасов, чтобы выиграть бой.
Даже тяжелый Раптор, ориентированный на абордаж, бесполезен для офицеров ARM, поскольку Рапторы давали избыточный бонус против абордажа, и нет никакой выгоды от абордажа нескольких Рапторов (независимо от силы морской пехоты) на одной и той же столице Сайлонов. В конце концов, захватить столицы сайлонов невозможно, так как корабль сайлонов и его команда сайлонов — одно и то же.
Подсистема ARM улучшает броню морской пехоты и силу морской пехоты во всем флоте.
Капитан I: +25% к силе морской пехоты.
Капитан II: +4 к броне морской пехоты.
Кепка флота
Все флоты имеют ограничение флота в 4000 очков, если у вас нет офицера. Новый офицер также имеет ограничение в 4000 очков.
Чтобы развернуть более крупный флот, офицер должен инвестировать в навык «Командование», который добавляет +1000 к максимальному количеству флота за вложенное очко навыка, максимум до +4000 или всего 8000 очков флота.
![]()
Офицеры начинают с подполковника (ранг 1).
Подполковник (ранг 2) может инвестировать в Командование I. Это настоятельно рекомендуется, так как позволяет взять 7-й корабль.
Подполковник (ранг 4) может инвестировать в Command II.
Подполковник (ранг 6) может инвестировать в Command III.
Подполковник (ранг ![]() может инвестировать в Command IV.
может инвестировать в Command IV.
Нет никакой выгоды в том, чтобы иметь более высокий лимит флота, чем необходимо для использования желаемых кораблей. Для справки, вот несколько составов флота (не исчерпывающий список):
4000 очков (без команды)
2x Адамант, 5x Мантикора
5x Берсерк, 1x Адамант
5000 очков (команда I)
7 берсерков (технически 4550 очков)
1x Атлас 6x Берсерк
6000 очки
3x Атлас, 3x Берсерк, 1x Адамант
2x Артемида, 1x Янус, 3x Берсерк
7000 очки
Я не смог найти ни одной комбинации флота, которая бы равнялась ровно 7000 очкам.
8000 очков (Команда IV)
4x Артемиды Battlestars, 2 Берсерка, 1 Мантикора
2x Юпитер Battlestars, 1x Атлас, 2x Берсерк
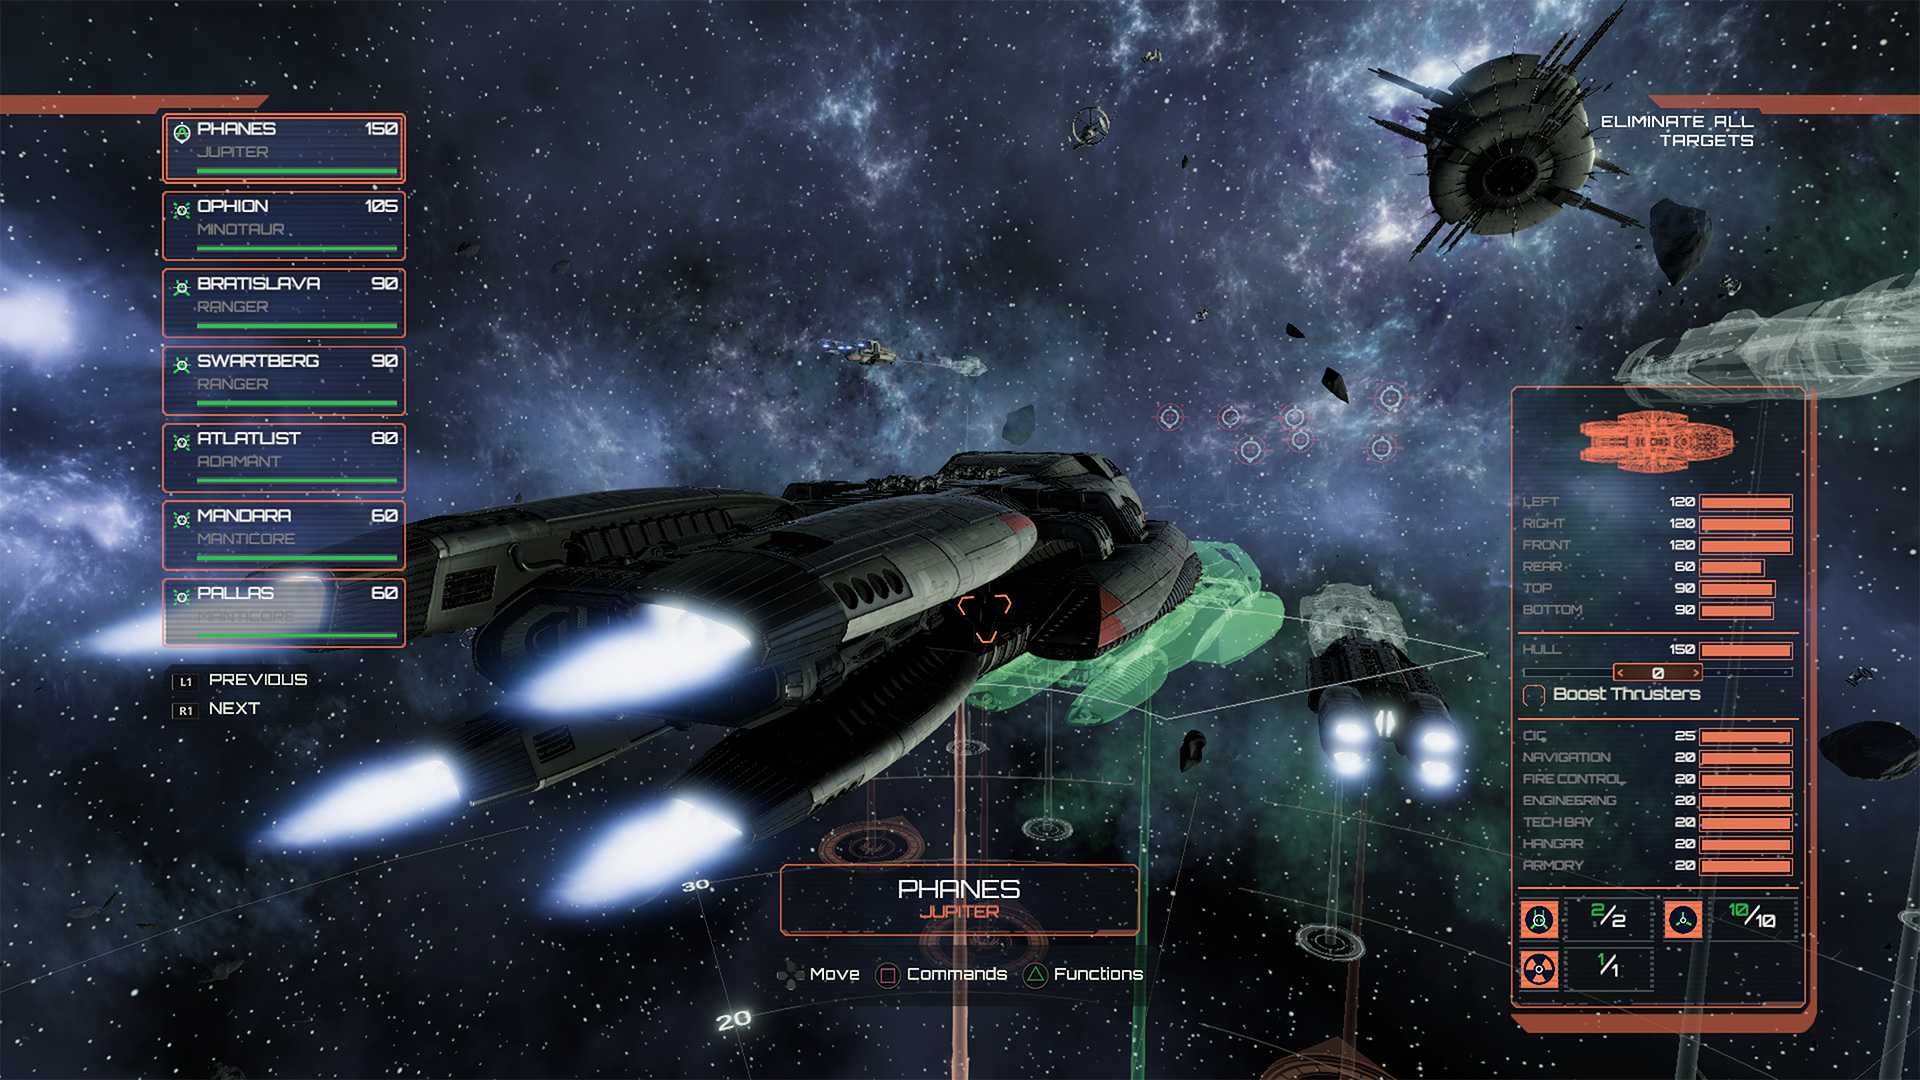
Камень-ножницы-бумага в открытом космосе
![]()
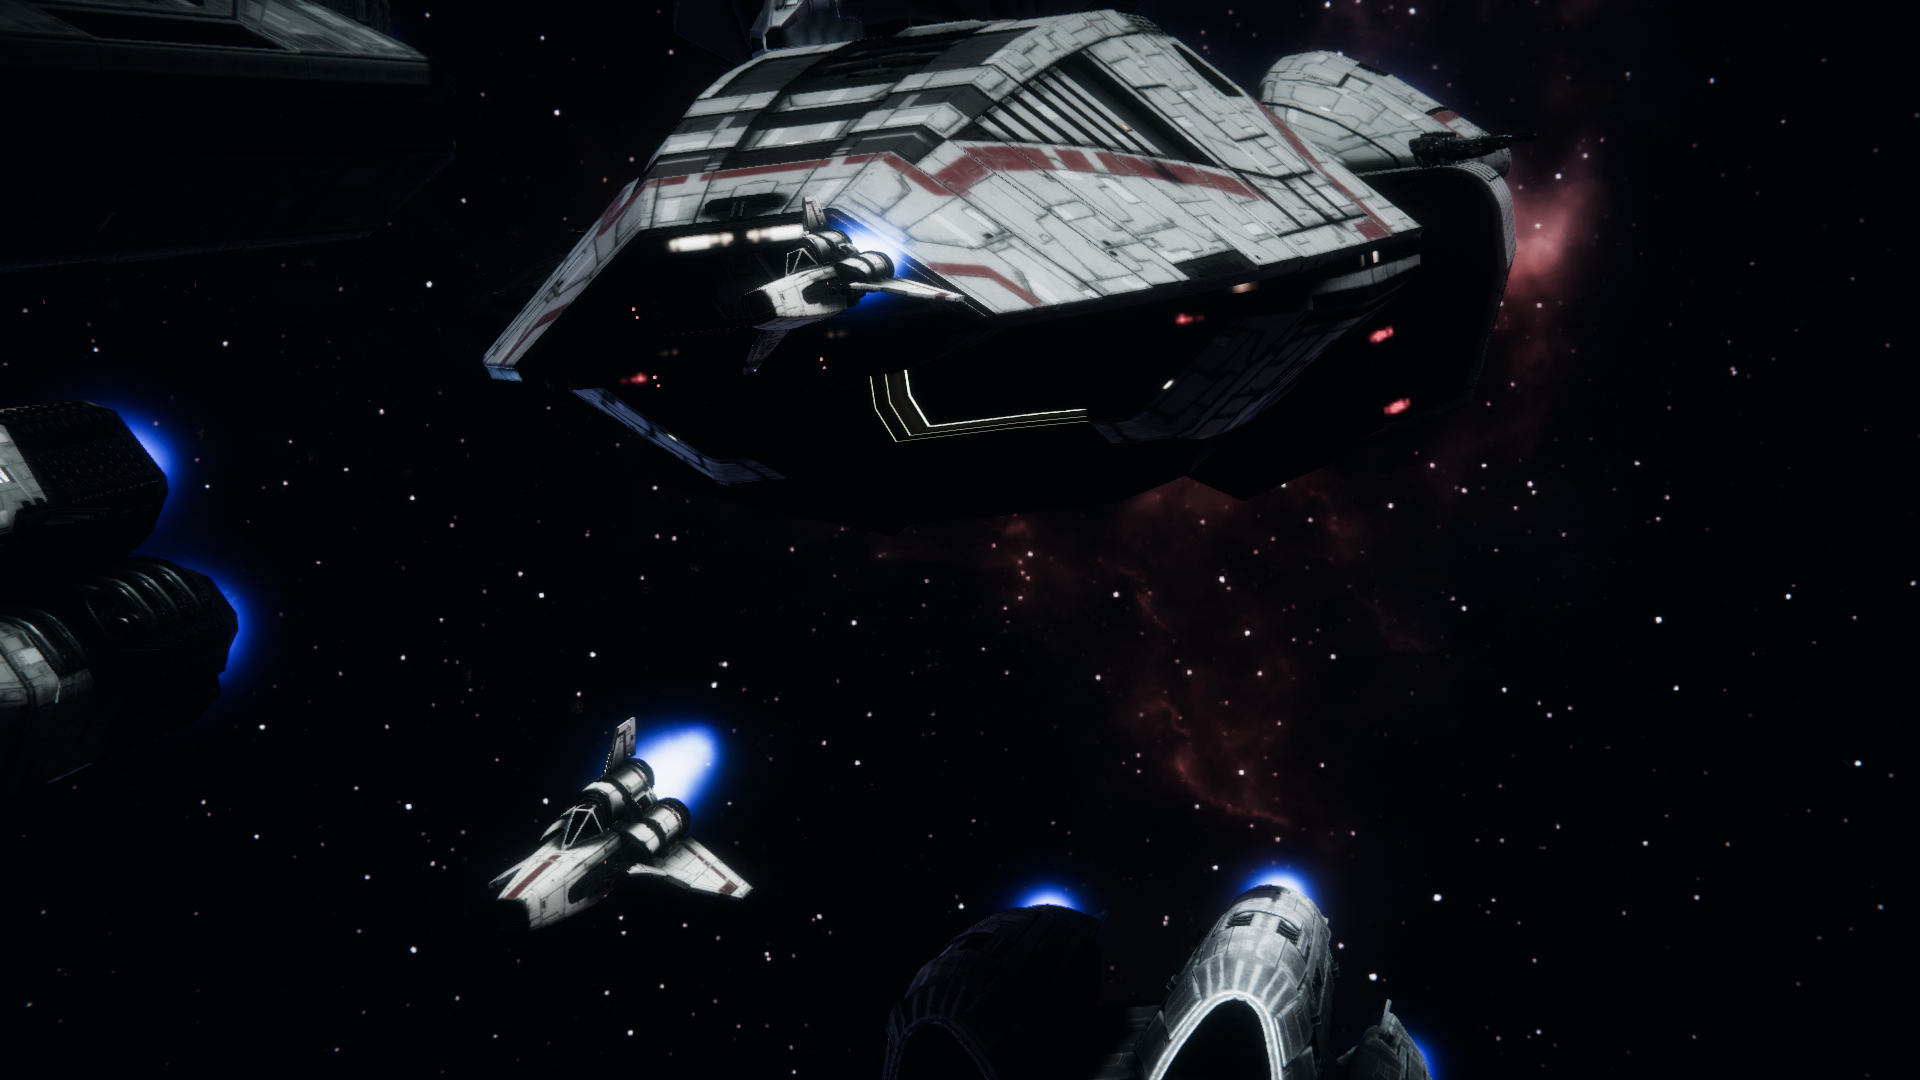
Не следует недооценивать мощь эскадры истребителей.
К слову о небольших, но очень больно бьющих «малышах». Не забывайте отправлять в бой истребители с авианосцев, так как эти бестии способны причинить абсурдное количество урона. Они неплохо противостоят практически всему что угодно, в том числе и истребителям врага, не давая последним превратить ваш флот в решето.
Не стоит упускать из виду и такую игровую механику, как взлом. Если вы играете за Колонию, то не давайте Сайлонам хакнуть ваши корабли, а если за Сайлонов – то всегда используйте эту возможность. Корабли в Deadlock имеют массу подсистем, каждая из которых влияет на общую боеспособность юнита. К примеру, система навигации определяет максимальное расстояние, на которое может передвигаться корабль, система ведения огня дает возможность стрелять, двигатели влияют на скорость и так далее.
Подсистема выходит из строя, когда участок брони, укрывающий часть корабля в которой она находится, получает достаточное количество урона. Но ещё сломать систему может взлом, наносящий ей повреждения в обход брони. И полный запас здоровья не поможет кораблю, потерявшему возможность стрелять или поворачиваться.
![]()
Надеемся, эти советы помогут вам выработать правильную стратегию игры. В скором времени мы рассмотрим более продвинутые аспекты боевой системы Battlestar Galactica: Deadlock!
Chapter 2 — Athena[edit]
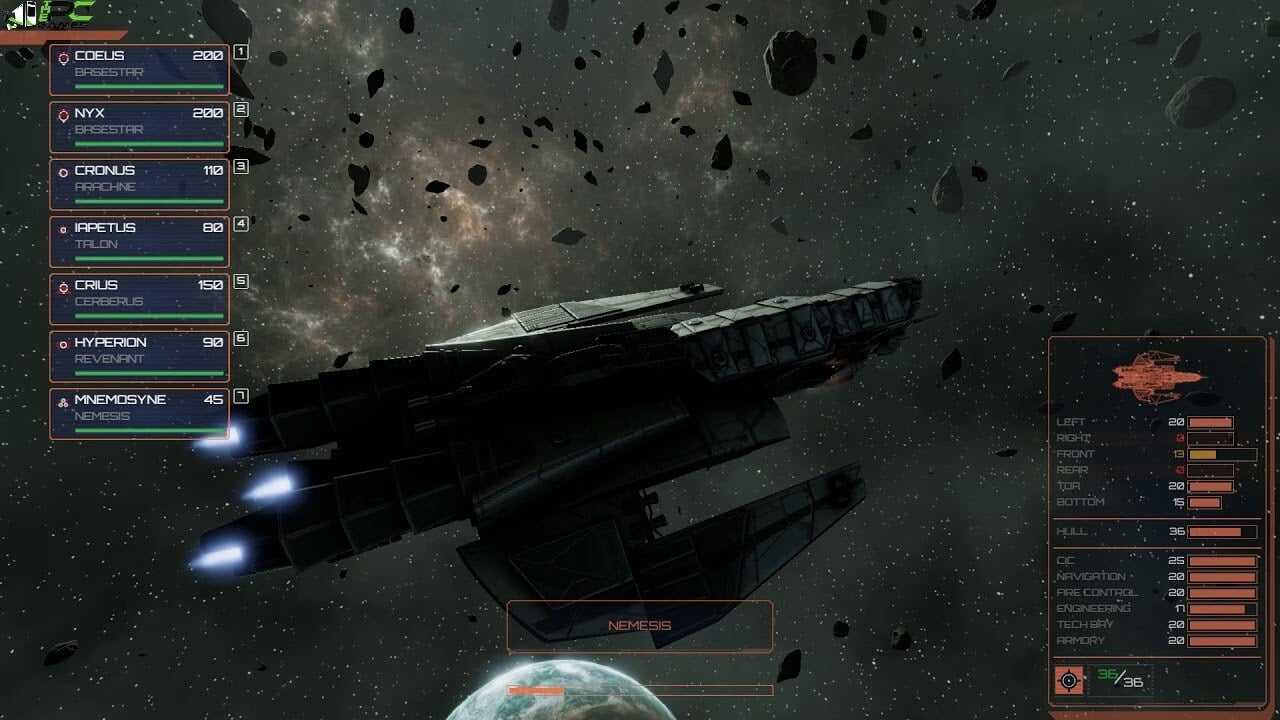
| Enemy Waves | |
|---|---|
| Start | Talon x1, Nemesis x2 |
20
Show of Force
Complete Chapter 2.
- Cain has got her stomping boots on. Started shelling out orders before she’d even finished sticking the Admiral pin to her jacket. She’s out to prove she’s ready for the top job of Colonial Fleet.
- Can’t feel good to earn that promotion off the back of your superior’s bad luck. But we’ve all lost someone in this war, I guess. My sister was on Galactica before it disappeared…
- Picon’s government is blaming Cain for not delivering Athena earlier. Both she and Sinon won’t be happy until we’ve delivered all twelve of the Jupiters to the Colonies.
- At least we’ll get to see Athena clear out some toasters before we hand her over to Picon. Daidalos is ready to jump on your command, sir.
![]()
Choosing the start positions for your fleet.
For this mission (and subsequent ones), you will be able to choose the starting layout for Daidalos and the rest of your fleet — consisting of the Manticores from the previous mission. You can also use this screen to switch out the various squadrons and weapons you have equipped. For these tutorial missions, the default start positions are fine. Click on Continue to start the battle.
As your fleet jumps in, you will have three enemy contacts. On top of your Manticores, however, you also have control of the Battlestar Athena. Select one of the enemy targets and have your fleet move to engage them.
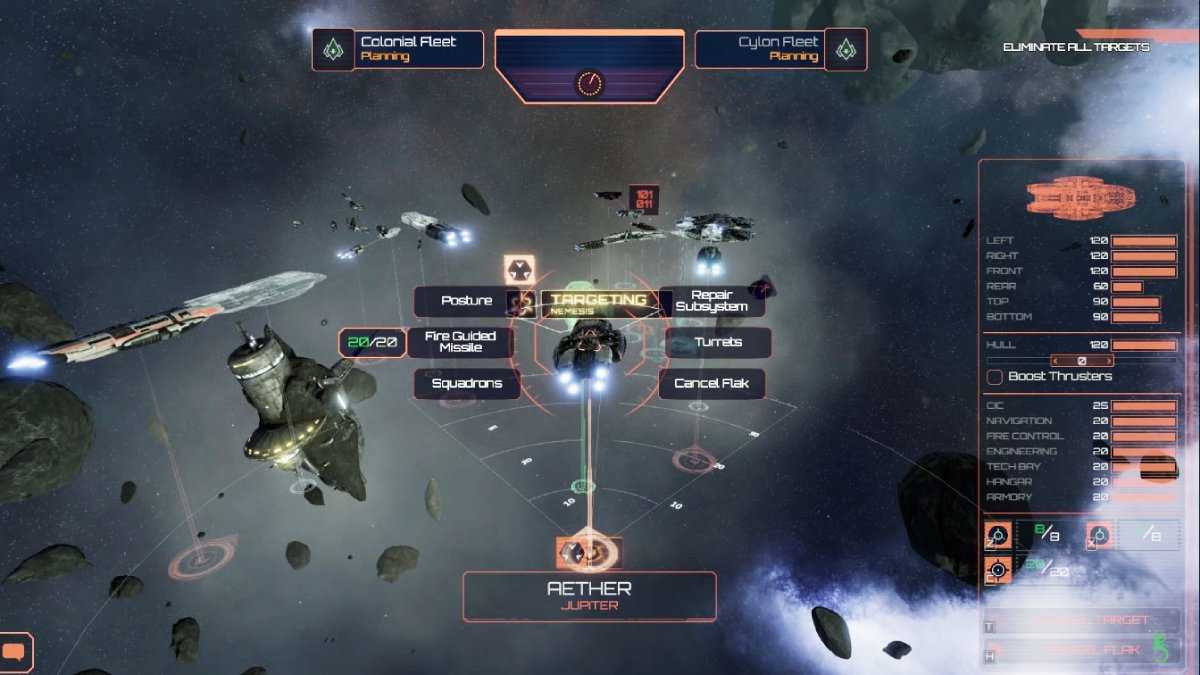
![]()
Adjust posture according to your needs.
On Turn 2, Cain will describe the Colonial ship Posture system, as outlined on the Colonial Ships page. A neutral posture provides the best movement options, so stay on course until you identify the enemy.
On Turn 3, the game will instruct you to launch Vipers from the Athena. Follow the prompts to launch Vipers. The Daidalos has Vipers of its own, so deploy these as well. You cannot issue orders to Vipers on the turn they are deployed.
That is the purpose of Turn 4 — to teach you to issue orders to your squadrons. The enemy Nemesis will likely have launched missiles on its turn, and the enemy Talon will have deployed its squadron of Wardrivers. Not to be confused with Heavy Raiders, which can board your vessels, Wardrivers are exclusively hacking craft, and are no match for your Raiders. Have either Daidalos’ Vipers or Athena’s Vipers focus their fire on the Wardriver squadron, and have the other group defend the ship that is being targeted by missiles. Both the Wardriver squadron and the missiles should fall to the Vipers before they deal meaningful damage.
![]()
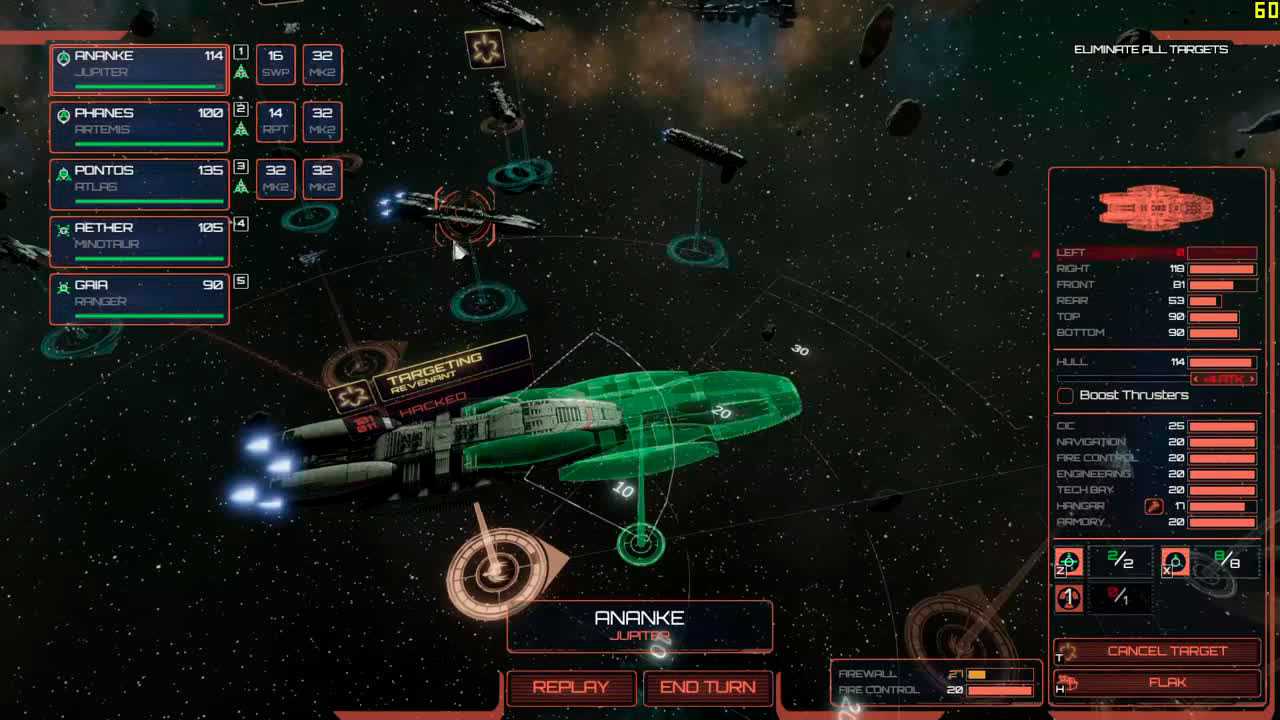
Wardrivers hack a Manticore.
The Athena also has access to a Raptor squadron. While it can also perform missile interception in the same way as Vipers can, it is far better to be used as a support craft. Have it use its rockets on the enemy Talon. These rockets don’t do large amounts of damage, but since they’re there, you may as well use them. Afterwards, have them boost the firewalls of the Wardriver’s target, and give the Vipers a little more time to destroy the Wardrivers. While the Raptors can be used to board enemy vessels, it isn’t recommended against extremely fragile early game enemies. If an enemy ship is destroyed with the Raptors still attached, the Raptors will be lost as well.
![]()
Use flak to shield yourself from incoming missiles.
Around Turn 5 or 6, Sinon will describe the effects of hacking. Hacking must first get through a target’s firewall (which can be improved by Raptors) and when it does, it begins dealing direct subsystem damage. The ships that do this — in this case, the Nemesis and the Wardriver — are both extremely fragile.
Cain will also step in to describe flak. Using flak is extremely dangerous, as it not only can act as an anti-missile shield, but it also deals extremely heavy damage to fighters — particularly your own escorting Vipers. Ensure your Vipers are far enough away from the Athena if you engage the flak so they are not killed by their own mothership.
Sink all three enemy ships to complete the mission.
Battlestar Galactica: Deadlock – хитрости и советы
Блистательно смешивая пошаговые космические бои и классическую стратегию галактических масштабов, Deadlock поражает своей глубиной и бескомпромиссной сложностью. Уже начиная с ранних миссий кампании битвы приобретают все более ожесточенный характер – практически любая победа достигается большими жертвами, если достигается вообще. Но в сражениях против флотилии Сайлонов существует несколько способов немного перевесить чашу весов в свою сторону.
На поверхности геймплей Deadlock состоит из постоянного движения и смены позиций, но всё это работает по принципу камень-ножницы-бумага, так как некоторые корабли и тактики идеально контрят другие. Во время битв вам придется удерживать в памяти целую череду различных факторов и переменных и командовать флотом в соответствии с действиями врага, принимая решения прямо на ходу. Но в то время как боевая обстановка меняется от раза к разу, несколько простых советов дадут вам небольшое преимущество над врагом и повысят общие шансы на победу.
Boarding Enemy Ships[edit]
Enemy warships can be boarded by either Raptors (Colonials) or Heavy Raiders (Cylon). The effects of being boarded varies.
In all cases, the boarding ship will attach itself to the target ship and put a Marine (Colonial) or Centurion (Cylon) boarding party on board the ship. This boarding party will start to lose members based on the strength of the Marine/Centurion force on the defending ship.
If the target ship is destroyed with the Raptor/Heavy Raider still attached, the ship is destroyed. Boarding parties will leave a target ship if their transport is leaves. The strength of boarding parties is dependent on the Armoury subsystem of the Raptor/Heavy Raider’s mothership.
Colonial boarding parties afflict a significant penalty for the ship being boarded. The target ship receives a -15% accuracy and -25% subsystem repair penalty. Cylon ships also receive a -25 system energy penalty, meaning they have less power to redirect to their subsystems.
These penalties are in effect as long as at least one Marine is on board the target ship. Defeating all the defenders on a target ship doesn’t yield any effect, but the penalty will remain in effect until the target is destroyed (or the Raptor leaves).
Cylon boarding parties begin causing subsystem damage. After destroying all subsystems, they will remain on board and re-damage subsystems until the Heavy Raider leaves. As of the Fleet Admiral update, they no longer destroy the target ship.
Season One[ | ]
Broken Alliance Campaign |
The Broken Alliance is the first set of story DLC. It is integrated into the main Deadlock campaign.
- Chapter One — Celestra
- Chapter Two
- Chapter Three
- Chapter Four
- Chapter Five
- Chapter Six
- Chapter Seven
- Chapter Eight — Herald
Sin & Sacrifice DLC |
The Sin & Sacrifice DLC introduces 11 full missions and a new feature: Dialogue chains between major characters on the Strategy screen. These dialogues appear between major missions and contain discussions between key characters to expand on the plot. They are noted below as a «.5» mission for reference.
- Mission 1: Demeter
- Mission 1.5 (Dialogue): Clothos’ Warning
- Mission 2: Jubal Sarkis
- Mission 2.5 (Dialogue): I can kill it again
- Mission 3: Red-Handed
- Mission 4: Preincarnate
- Mission 4.5: Move, Please
- Mission 5: Conversion
- Mission 6: Face-to-Face
- Mission 6.5 (Dialogue): Two Thirds
- Mission 7: Political Capital
- Mission 7.5 (Dialogue): Comms Tower 48
- Mission 8: Executive Order
- Mission 8.5 (Dialogue): Moral Duty
- Mission 9: The Last Line
- Mission 10: Landing Zone
- Mission 11: Ragnar Assault
Sin & Sacrifice DLC Side Missions |
These side missions can appear across the Cyrannus systems, providing additional opportunities to earn Requisition Points and other rewards. They appear on the map with a number counting down the number of remaining turns they are available for.
- Demolish the Data Centre
- Evacuation — Helios Alpha
- Station Purge — Helios Delta
- Separatists — Helios Gamma
- Trojan — Helios Gamma
- Hostile Contacts — Helios Delta
Not participating in the missions do not negatively effect the player.
Положение
На самой высокой сложности флоты без офицеров или офицеров с низким рангом имеют только +4 к положению. Это может быть увеличено до +8 из следующего:
+1 с ранга 3 (все офицеры)
+1 с ранга 8 (все офицеры)
+1 от CIC +5 (краеугольный камень навыков офицерского флота CIC)
+1 от Осанки +1 (краеугольный камень навыка капитана CIC)
Таким образом, осанка +8 возможна только для офицера CIC 10-го ранга, который пренебрегает навыком «Командование», но все офицеры могут получить как минимум +6.
Важность осанки и, следовательно, офицеров CIC по сей день остается предметом острых дискуссий. Я воздержусь от добавления собственных мыслей, а вместо этого приведу необработанные данные
Отрицательная поза указывает на защитную позу, положительная — на наступательную, а Boost — это особая поза, на которую не влияют бонусы позы/CIC
Обратите внимание, что в реальных боях эти цифры могут быть выше из-за опыта экипажа, корабельных и офицерских бонусов
Осанка -8 -7 -6 -5 -4 -3 -2 -1 0 1 2 3 4 5 6 7 8 ПОДДЕРЖКА
Инженерное дело (Защита)
Снижение урона 33 32 31 30 29 28 27 26 25 24 23 22 21 20 19 18 17 13
Ремонт подсистем 132 128 124 120 116 112 108 104 100 96 92 88 84 80 76 72 68 52
Ремонт эскадрильи 140 135 130 125 120 115 110 105 100 95 90 85 80 75 70 65 60 40
Оружейная (защита)
Морская броня 56 54 52 50 48 46 44 42 40 38 36 34 32 30 28 26 24 16
Сила морской пехоты 204 197 191 184 177 170 164 157 150 143 137 130 123 116 110 103 96 69
Технический отсек (защита)
Серия Dradis M 6800 6575 6350 6125 5900 5675 5450 5225 5000 4775 4550 4325 4100 3875 3650 3425 3200 2300
Регенерация межсетевого экрана /с 8.2 7.9 7.6 7.4 7.1 6.8 6.5 6.3 6 5.7 5.5 5.2 4.9 4.7 4.4 4.1 3.8 2.8
Управление огнем (наступление)
Дальность башни 72 76 79 83 86 90 93 97 100 104 107 111 114 118 121 125 128 58
Точность башни 60 65 70 75 80 85 90 95 100 105 110 115 120 125 130 135 140 41
Боеприпасы Размер залпа 68 72 76 80 84 88 92 96 100 104 108 112 116 120 124 128 132 52
Навигация (ни то, ни другое)
Шаг 60 65 70 75 80 85 90 95 100 95 90 85 80 75 70 65 60 59
Рыскание 60 65 70 75 80 85 90 95 100 95 90 85 80 75 70 65 60 59
Расстояние 64 69 73 78 82 87 91 96 100 96 91 87 82 78 73 69 64 140
Ангар (Нет)
Задержка запуска эскадрильи (с) 3
Battlestar Galactica Deadlock
Минимальные:ОС: 64-разрядная версия Windows 7 / 8 / 8.1 / 10Процессор: Dual Core 2 ГГц или аналогичный процессорОперативная память: 4 Гбайт Видеокарта: Nvidia Geforce 460, ATI Radeon HD 5770 или аналогичная видеокартаСеть: Широкополосное подключение к интернетуМесто на диске: 9 Гбайт
Рекомендованные:ОС: 64-разрядная версия Windows 7 / 8 / 8.1 / 10Процессор: 2,5 ГГц или аналогичный процессорОперативная память: 8 ГбайтВидеокарта: ATI Radeon HD 7970, Nvidia GeForce GTX 770 или аналогичная видеокартаСеть: Широкополосное подключение к интернетуМесто на диске: 9 Гбайт
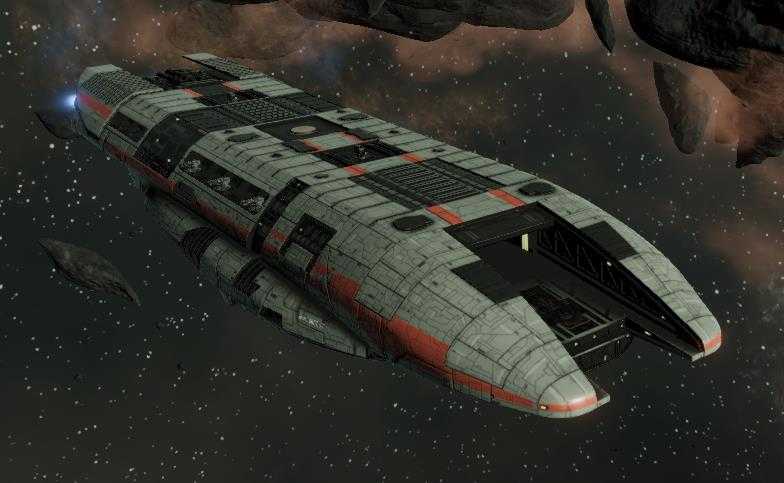
Battlestar Galactica Deadlock – космическая стратегия во вселенной Battlestar Galactica, созданная фанатами Warhammer 40,000 для фанатов любой научной фантастики с привкусом гримдарка.
Как и полагается в качественном гримдарке, игрок с ходу попадет в критическую ситуацию. Вокруг война с сайлонами, силы человечества на исходе. Взяв под управление Колониальный флот, игрок проведет его через множество битв и добьется перелома в войне с грозными инопланетным киборгами.

В зависимости от предпочтений новоиспеченного адмирала, флот развивается в сторону одного из четырех архетипов. Они представляют возможность для следующих тактик: рискованные кинжальные удары на близких дистациях; быстрые перестрелки на серьезных дистанциях; упор на большое количество истребители; и сбалансированную тактику с использованием всего и сразу, но с меньшей эффективностью.
Как и полагается современным стратегиям высокого качества, значительная часть контента спрятана за платными дополнениями. Мультиплеер Battlestar Galactica Deadlock представлен стандартными дуэлями 1 на 1, но игроки могут выставить общий флот против сайлонского флота под управлением ИИ.
Navigation menu
Tools
- What links here
- Special pages
- Printable version
- Permanent link
- Page information
- Page values
- Guide pages
- Guide images
- Guide files
Table of Contents
- Battlestar Galactica: Deadlock
- Table of Contents
-
Gameplay
- Controls
- Officers
- Blueprints
- Colonial Ships
- Cylon Ships
- Squadrons
- Munitions
- Miscellaneous Entities
- Achievements
-
Appendices
- Dramatis Personae
- The Twelve Colonies
- Multiplayer
- Multiplayer Fleets
-
Walkthrough
- Side Missions
- Chapter 5 — MkII
- Broken Alliance Chapter 1 — Celestra
- Broken Alliance Chapter 2 — Prison Station
- Chapter 6 — Chemical Warfare
- Chapter 7 — Sagittaron
- Broken Alliance Chapter 3 — Missile Command
- Broken Alliance Chapter 4
- Chapter 8
- Broken Alliance Chapter 5
- Broken Alliance Chapter 6
- Chapter 9 — Permissive Action Link
- Broken Alliance Chapter 7
- Chapter 10 — Negotiation
- Chapter 11 — Sinon Quade
- Broken Alliance Chapter 8 — Herald
- Chapter 12 — Galactica
- Chapter 13 — Marathon
- Chapter 14 — Avalon
- Operation Anabasis (Survival Mode)
-
Sin & Sacrifice
- Sin and Sacrifice Side Missions
- Chapter 1
- Chapter 2
- Chapter 3
- Chapter 4
- Chapter 5
- Chapter 6
- Chapter 7
- Chapter 8
- Chapter 9
- Chapter 10
- Chapter 11
-
Resurrection
- Resurrection Side Missions
- Mission 1: Second Blooding
- Mission 2: The Body Resurrected
- Mission 3: Pallas
- Mission 4: Kobolform
- Mission 5: Send him from crisis
- Mission 6: Perfect Interval
- Mission 7: Triangulation
- Mission 8: Galleon
- Mission 9: Forward Contamination
- Mission 10: Oranu Sunset
Стратегии 2000 — 2010 годов
На этой странице портала «Onyxgame.com» собран обширный список стратегий 2000 — 2010 годов. Каждая стратегия из данного каталога отобрана нами тщательным образом, и мы уверены, что все собранные здесь игры стоят вашего внимания! Пересмотрев игры этой категории, вы точно найдете подходящую игру для себя. Наш список стратегий 2000 — 2010 годов сочетает в себе самые лучшие и запоминающиеся стратегические игры. Игры удобно разбиты по датам с 2020 — 2000, и ранних годов
Также стоит уделить внимание нашему ТОП 10 стратегий, для него мы отобрали только лучшие игры жанра
OnyxGame.com
Количество информации по играм может запутать вас, но мы максимально проработали ее, и вы со всеми удобствами сможете выбрать нужную Вам игру посмотрев видео и скриншоты, или же подробно ознакомившись с информацией на соответствующей странице игры. Сайт OnyxGame собрал большое количество разнообразных игровых жанров и отсортировал их по играм на PC и другим платформам. Теперь вы точно найдете для себя только лучшие компьютерные игры!
Fortifying Colonies & Maintaining the Quorum[edit]
![]()
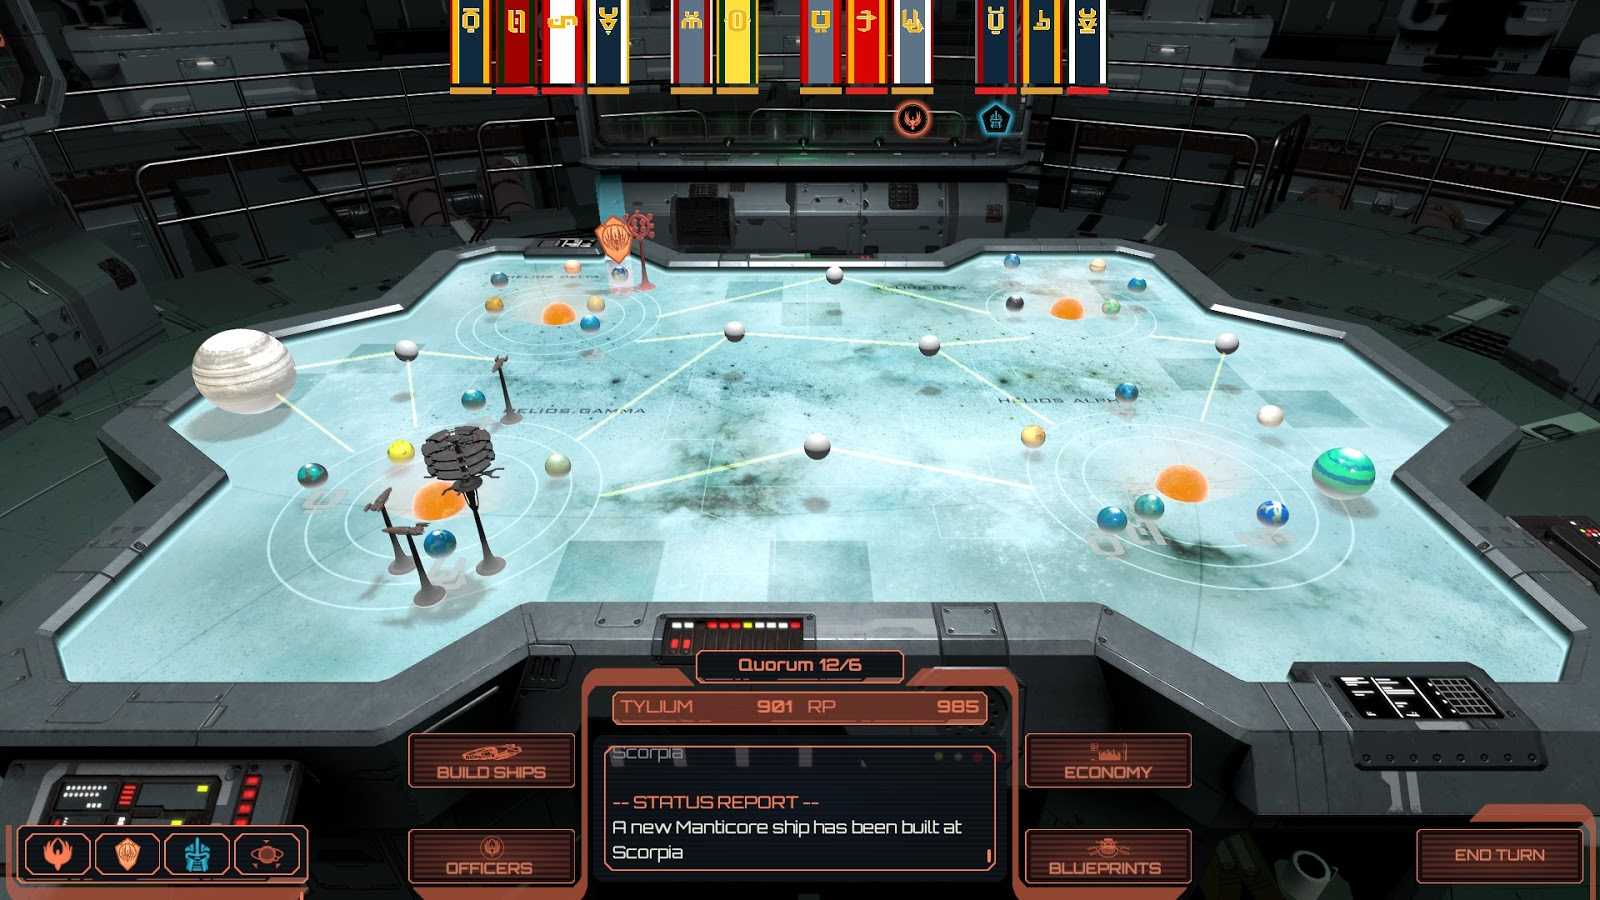
The status of the Quorum can be determined at a glance by looking at the flags at the top of the screen. The support has four levels: Steadfast, Concerned, Unstable, and Faltering. The flags are, from left to right: Caprica, Gemenon, Picon, Tauron, Leonis, Virgon, Libran, Sagitteron, Scorpia, Aerilon, Aquaria, and Canceron.
Gemenon has left the Quorum.
Cylon fleets and side missions will appear around colonies. Cylon fleets occupying a colony will have a blue Cylon indicator beneath their flag. When left alone for a few turns, Cylon fleets will disappear and missions will expire, lowering the colony’s confidence in the Quorum as well as its Tylium production.
Eventually the Colony will leave the Quorum entirely, shown on the top of the game screen as a grey, ravelled up flag. If more than six of the twelve colonies leave the Quorum, campaign progression will be put on hold until you re-recruit them.
Fortifying colonies will prevent them from losing confidence in the Quorum, increase their Tylium yield, and re-recruit them into the Quorum if they have left. Any fleet with an officer attached will fortify a colony. Fortified colonies have the Colonial Fleet symbol underneath their flag.
Campaign Missions[ | ]
- Chapter One — Tutorial
- Chapter Two
- Chapter Three
- Chapter Four
- Chapter Five -Mk. II
- Chapter Six — Medical Evac
- Chapter Seven
- Chapter Eight
- Chapter Nine — Permissive Action Link
- Chapter Ten — Negotiation
- Chapter Eleven — Sinon Quade
- Chapter Twelve — Galactica
- Chapter Thirteen — Marathon
Deadlock Campaign Side Missions |
The Resource Missions can appear across the Cyrannus systems, providing additional opportunities to earn Requisition Points and other rewards. They appear on the map with a number counting down the number of remaining turns they are available for.
Not participating in the missions do not negatively effect the player.
Chapter 1 — Daidalos[edit]
20
There Are Those Who Believe…
Complete Chapter 1.
![]()
Follow the on-screen prompts during the tutorial.
| Enemy Waves | |
|---|---|
| Start | Nemesis x1 |
| Turn 3 | Nemesis x1 |
The first five chapters of the game are the tutorial stages, and thus are impossible to fail provided you follow the on-screen instructions.
You start the game with two Manticores, and instructions to move full speed towards the unknown DRADIS contact directly ahead. More advanced capabilities will be withheld until later, so just stick with what little you’re given for now. There will be more time to experiment later.
![]()
Red ship silhouettes indicate ship collisions.
On Turn 2, focus fire is enabled. Follow the on-screen instructions to tell your ships to focus down the still-unknown DRADIS contact. The tutorial has only one of your Manticores to focus fire, but tell the other to lock on as well. An enemy ship at 1 HP does the same amount of damage as a target at full health, so it is good practice to concentrate fire on single targets.
Additionally, you will unlock the most powerful tool a new player can have: Toggle Weapon Arc Visibility. Press the \ key or the button to see the firing arcs of your ships. The weapon arcs shown are strictly 2D, however, and do not show the elevation or depression abilities of the guns; refer to the ships page for that information.
![]()
Turn on Weapon Arc Visibility. It is an invaluable tool for new players.
Going into Turn 3, your DRADIS contact will finally be fully identified as a Nemesis, and a second Nemesis will appear to support it. Despite equal numbers, the Nemesis is an extremely poor fighter, and only carelessness will cost you your Manticores. Keep your Manticores either in front and above or below and behind to keep their guns firing.
As per Cain’s instructions, select the Nemesis corvettes to identify them and gain slightly more information regarding their armour profile. Your Manticores also receive access to their missiles. Have your Manticores launch their missiles at either Nemesis at the same time. The Nemeses will respond in kind with their own missiles, but as of now there is no way to deal with them.
Turn 4 will introduce repairing subsystems. Sinon will appear and prompt you on how to repair the tech bay of one of your Manticores. Many Cylon ships are capable of doing subsystem attacks, so keep in mind of how to repair for the future. Losing the tech bay is a minor annoyance; losing Navigation and Fire Control can be devastating.
All future turns will be without tutorial prompts. Simply destroy both Nemeses to end the mission, and enjoy the replay.
Interference[edit]
- I’ve tracked down some of the phantom frequencies we keep bumping into in this system. Surprise surprise, there’s Cylons involved. I’ve sent you the coordinates to the encoded network they’re using.
In this mission, your fleet must destroy several captured satellites as well as a Cylon fleet guarding them.
The satellites themselves have no armour, start the battle revealed, and have only 4 hit points. An early game missile barrage will easily kill them from a distance without having your entire fleet go all the way to them. Viper squadrons can also work.
In addition to Tylium and Requisition Point awards, this mission also impedes the Cylons with an FTL movement penalty.


